Pictures
The following photos show some of the setup, design, and assembly that went into making this project a reality. It was definitely a significant undertaking. You can click on the photos to enlarge them.
SAFETY WARNING: Please do NOT step on the grass to look at the display more closely. There are many hazards including wires you may trip over and dangerous voltages present at all times (even when the display appears to be off). For your safety it is important to keep away from the display equipment. Many of the lights have been modified and therefore should not be touched.
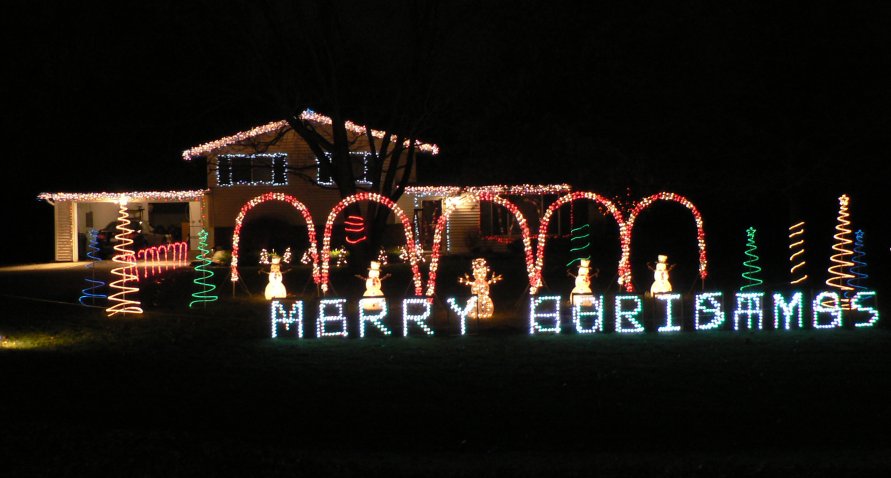
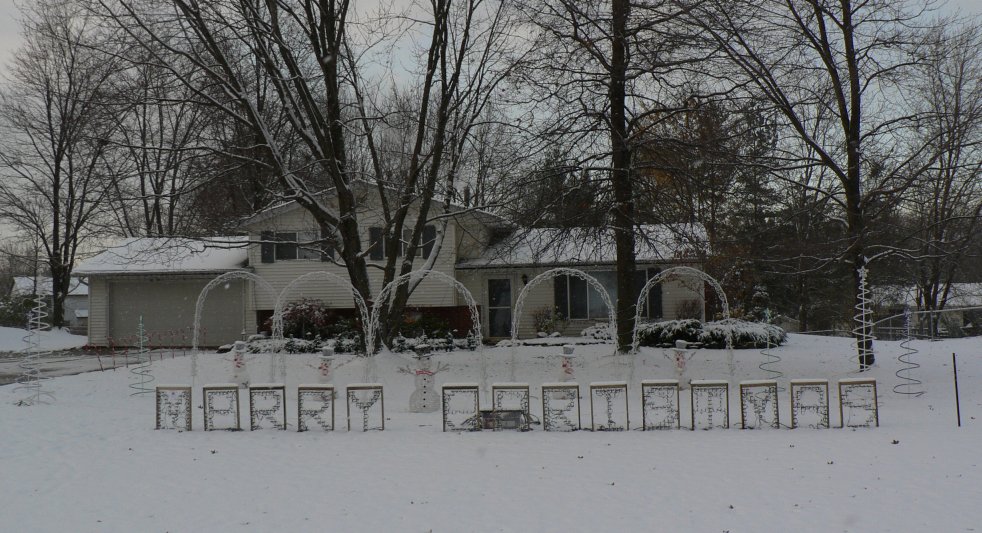
The 2007 display setup with all lights and letters on at once.
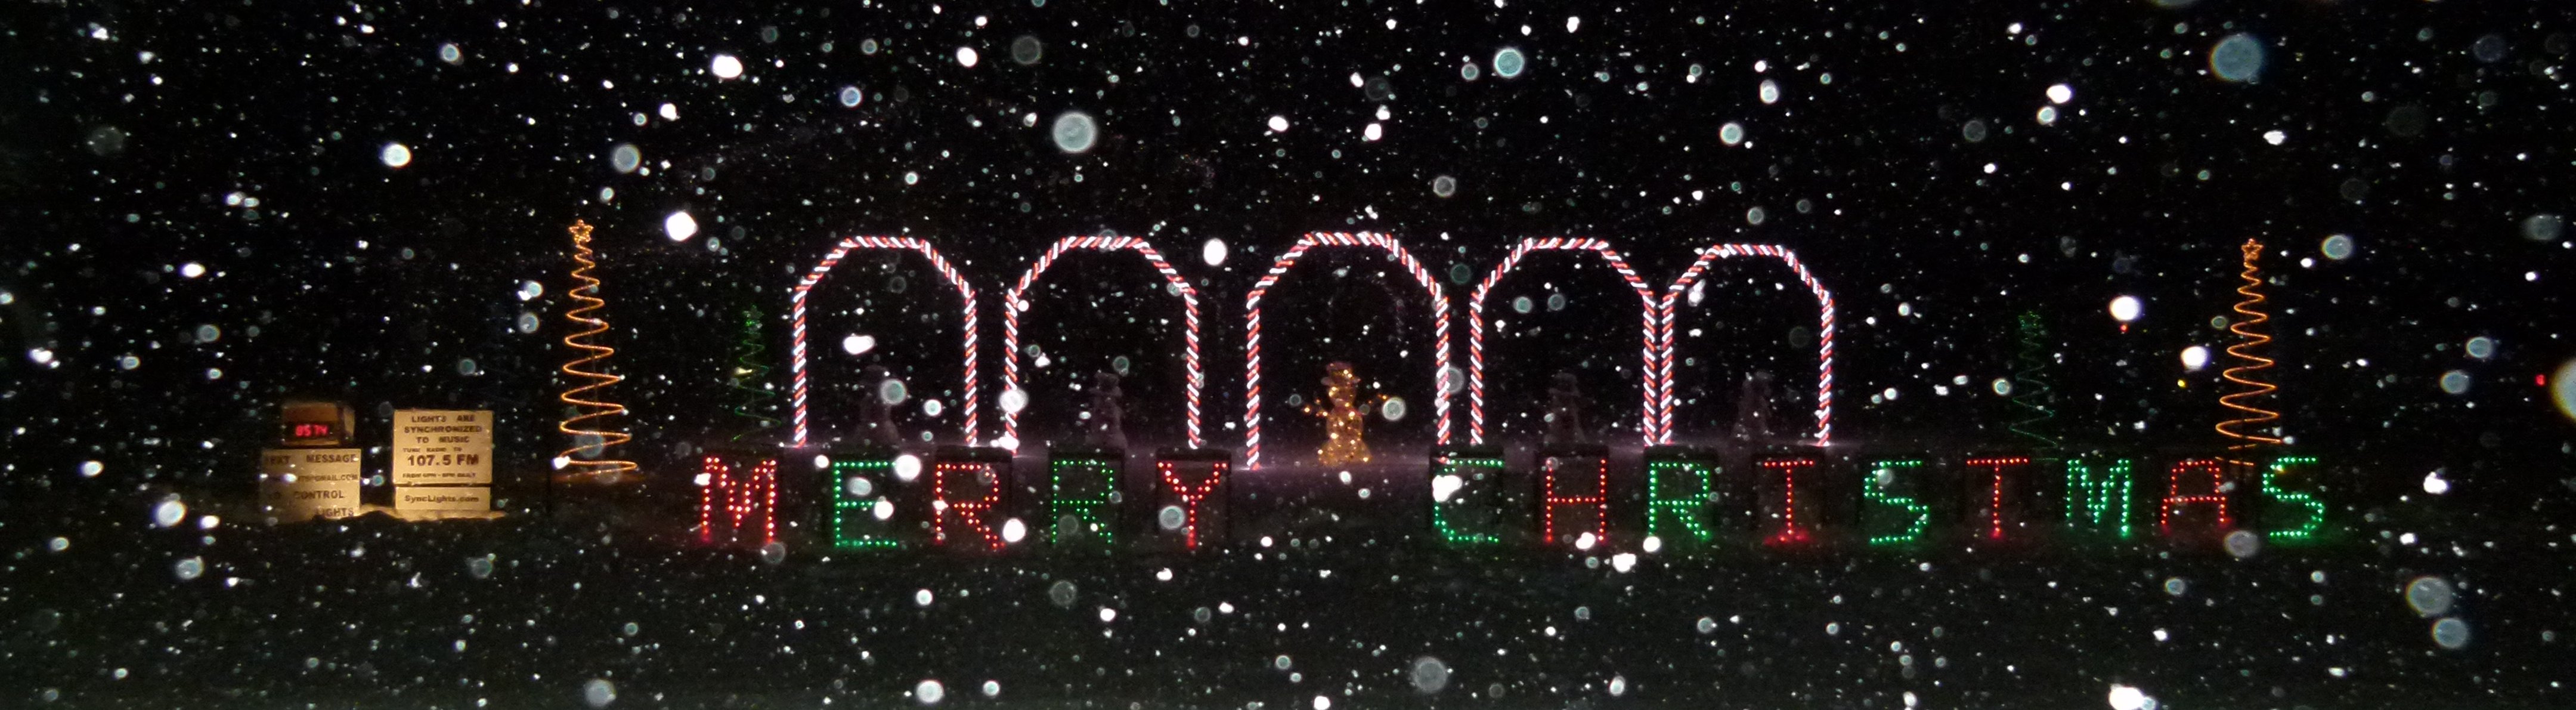
The 2010 display at night while it was snowing.
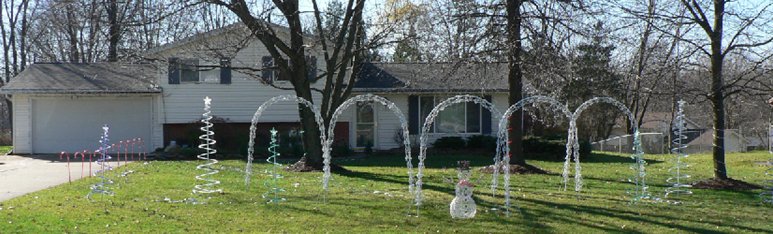
The display during its first inaugural year in 2006.
Design and Assembly
The initial design was done back in 2006. A total of 50 controllers and related hardware were designed and built for the inaugural display. Additional channels were built up and added in 2007.
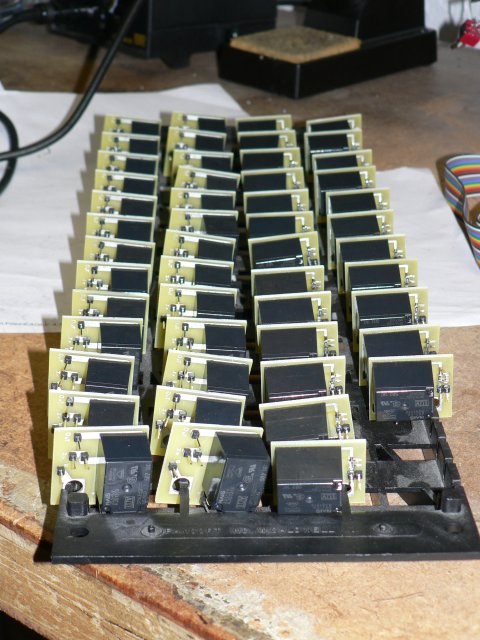
The initial batch of populated relay boards.
Hand assembling of circuit boards.
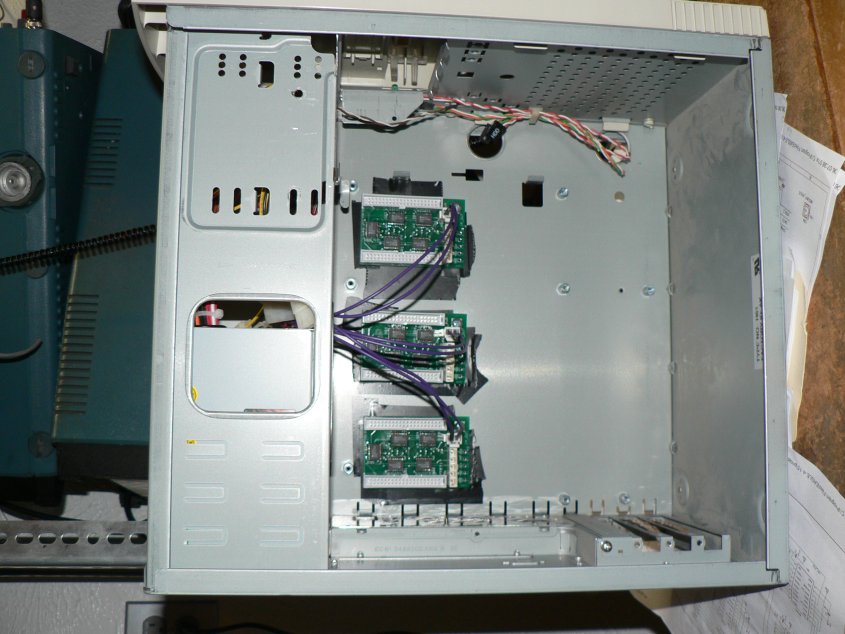
Mounting of relay driver boards in an old computer case.
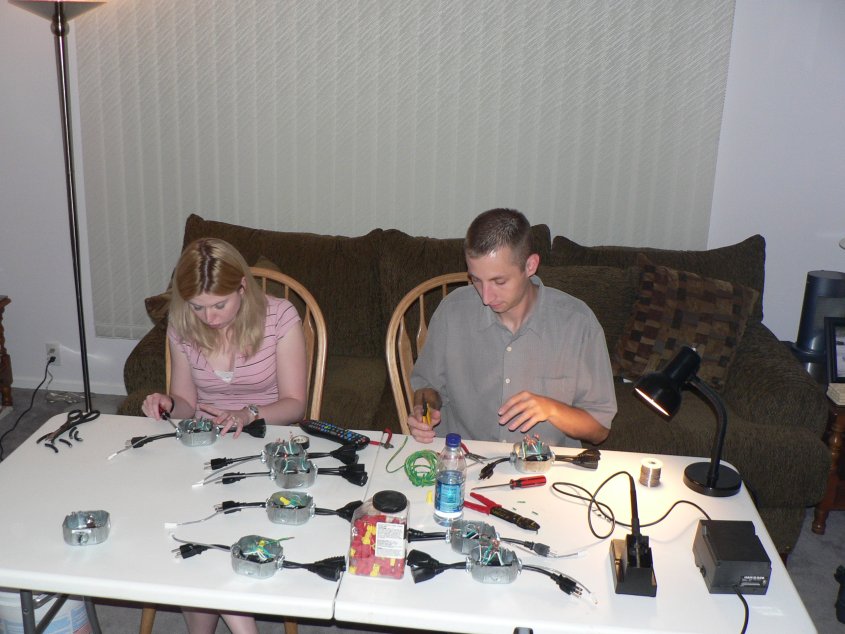
Building up relay control boxes.
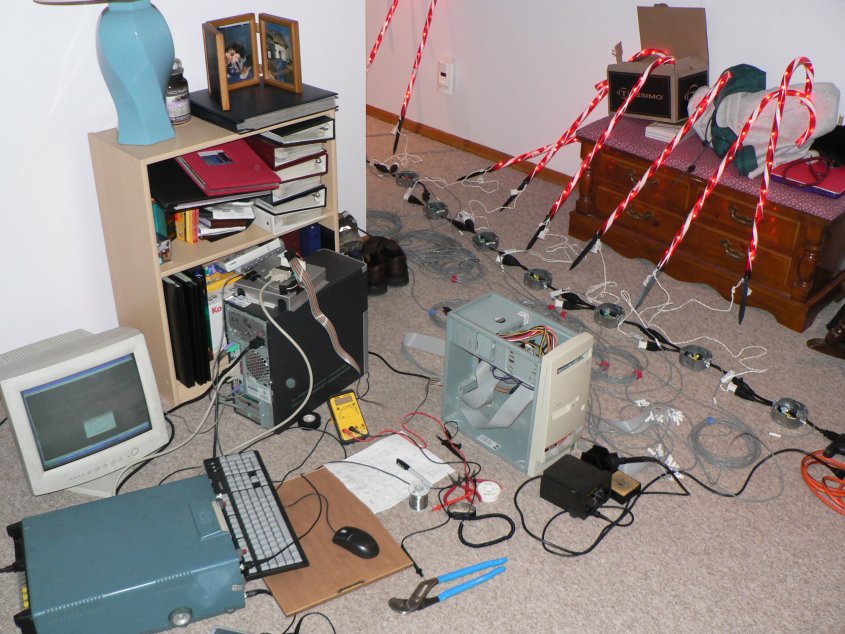
Final indoor testing and debug using multiple channels.
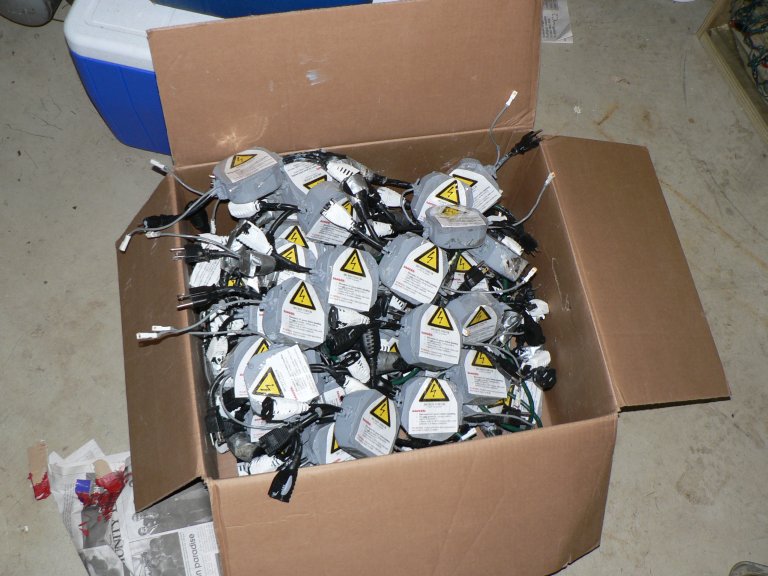
Finished control boxes. Each box controls one channel.
Display Setup
Setting up the display usually takes a couple of days. One of the biggest challenges is trying to keep water away from the outdoor electrical connections.
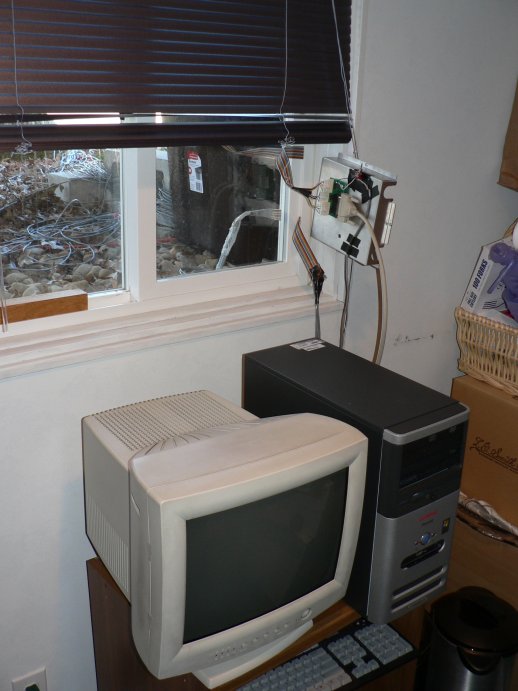
The computer and translation board that control the display.
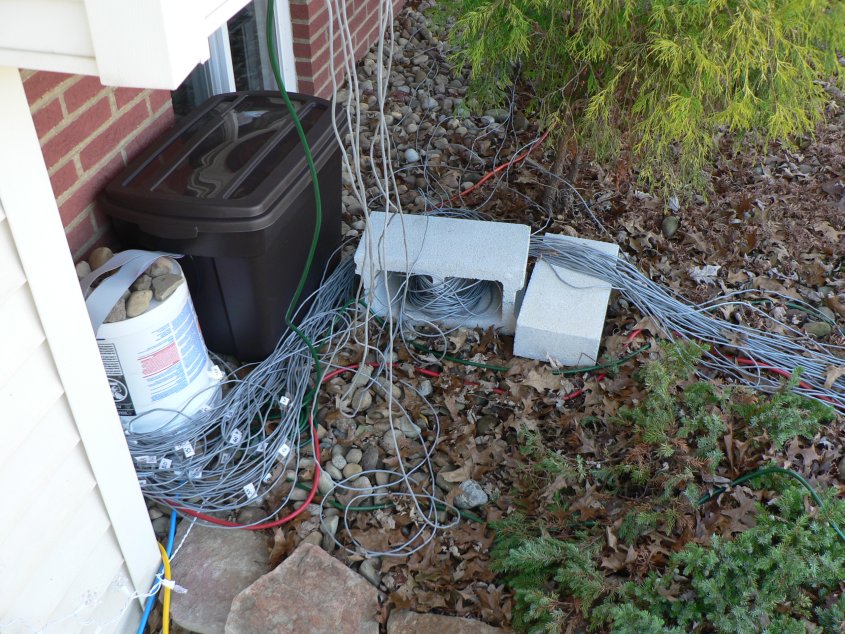
Wiring feeding out from relay control boards.
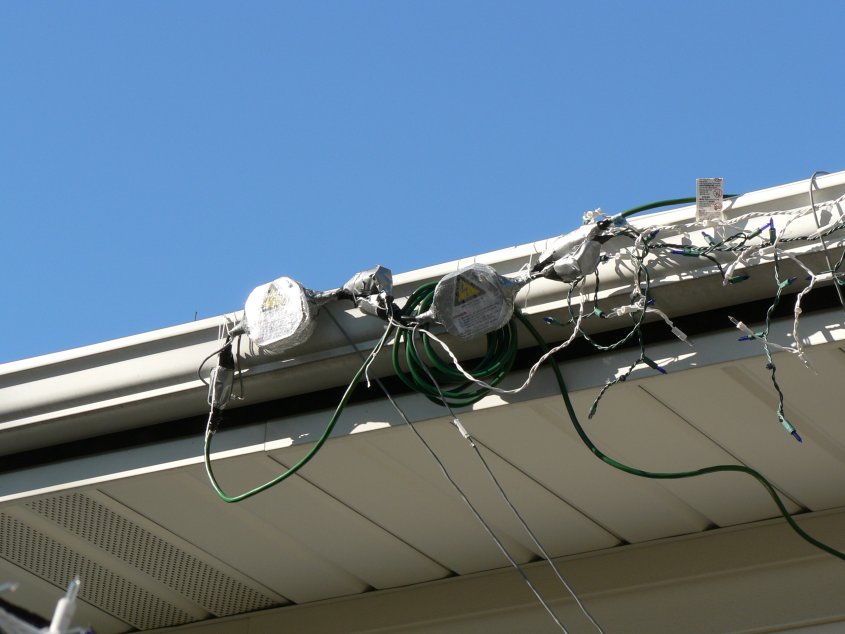
Control boxes hanging from the gutters for the icicle lights.
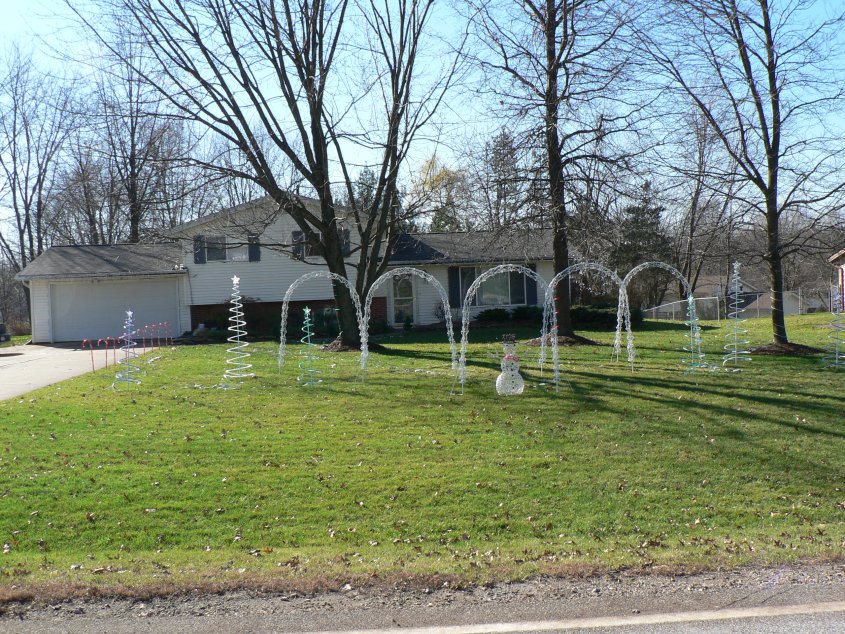
View of the 2006 display from the street.
Special power lines going to each of the control letters added in 2007.
View of the 2007 display from the street.
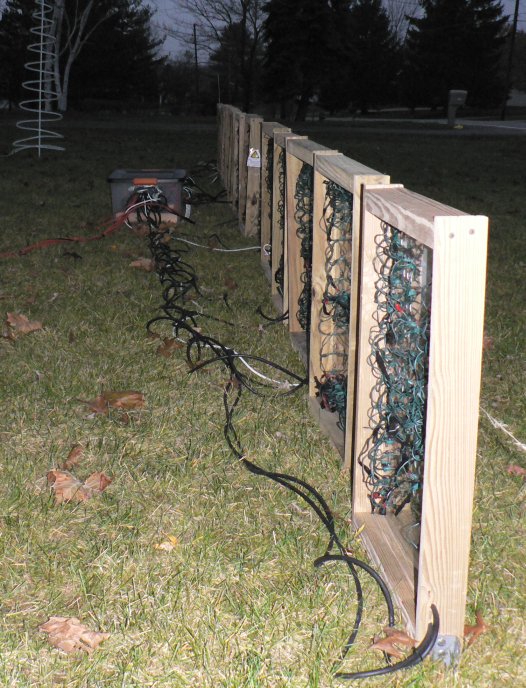
Custom Display Letters
LED lights were used to create a custom letter display for 2007. There are 41 letters in all mounted on 14 different 18x24 inch pieces of plexiglass. We made these ourselves as the photos below show. It is capable of displaying Merry Christmas in red or green and Happy Holidays in white.
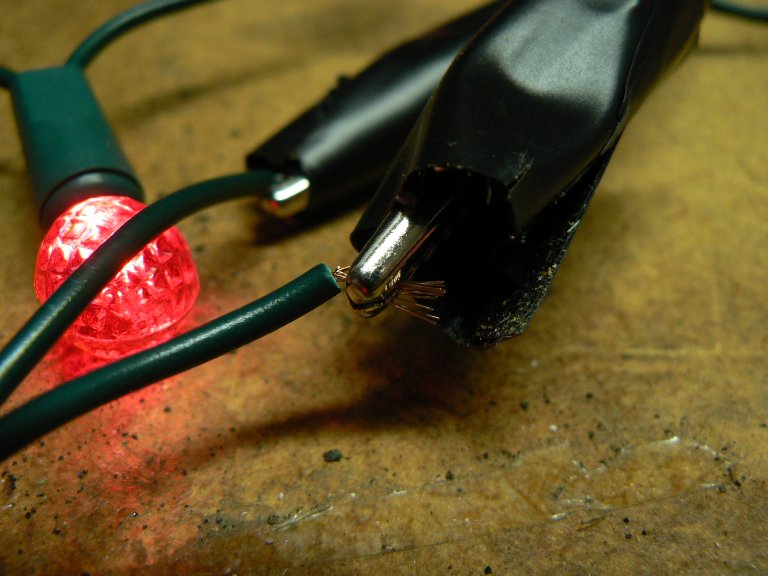
Carefully splicing and re-terminating the LED lights. This is not as easy as it sounds.
The reterminated lights were soldered and joints coated with Plastic Dip sealant to keep water
from being able to enter the shrink wrap seals. All 41 strands are shown hanging to dry above.
Manual drilling of holes in plexiglass for display letters. Initially a spade bit was used but had
a tendency to crack the plexiglass. We later discovered that a step drill bit worked much better.
Securing the strands of lights to the plexiglass with zip ties.

View of the lights once mounted to the plexiglass.
Trimming off the excess zip tie ends.
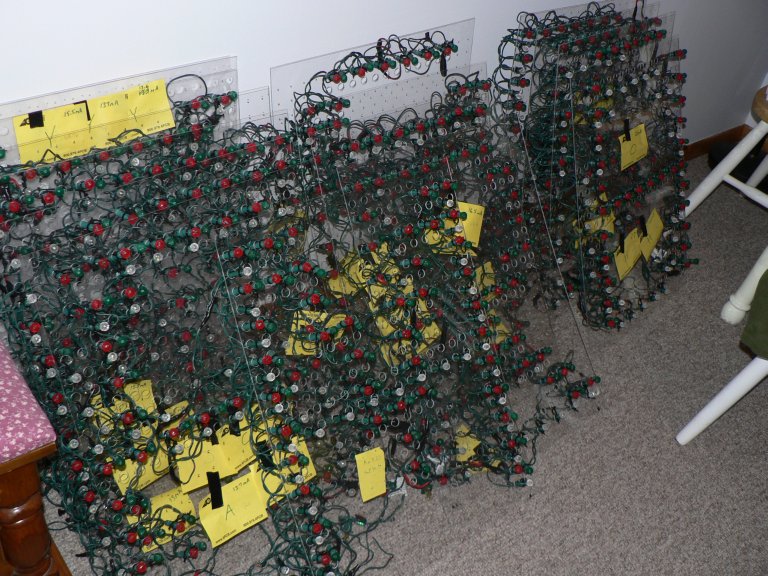
Several letters after mounting but before framing.
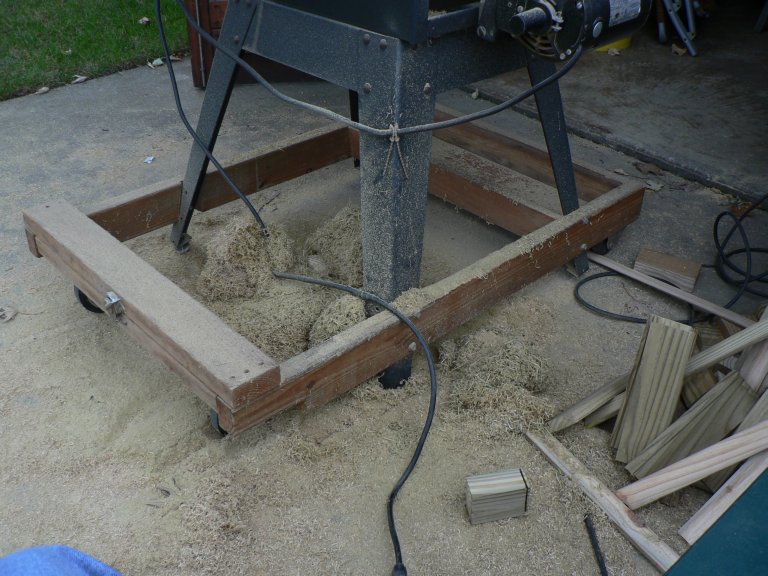
Sawdust from cutting frames for the individual letters.
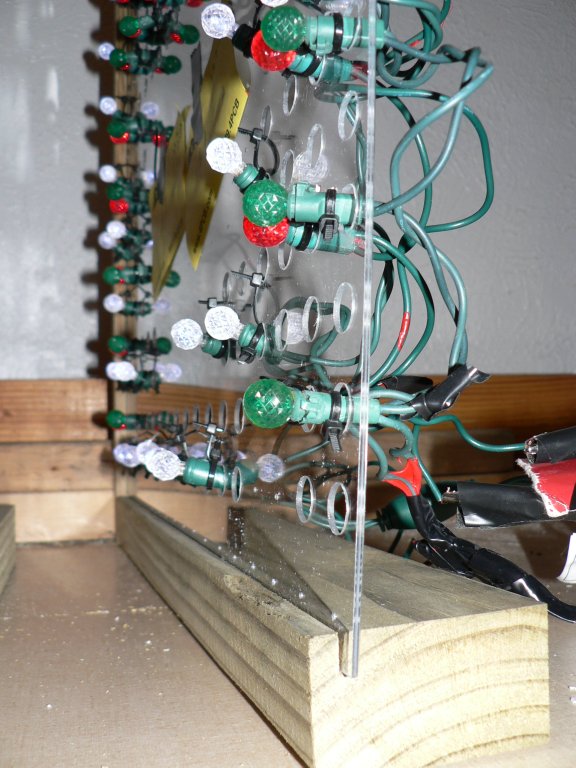
The plexiglass is held in place by fitting it into a 1/4 to 1/2 inch deep cut in each piece of the wood.
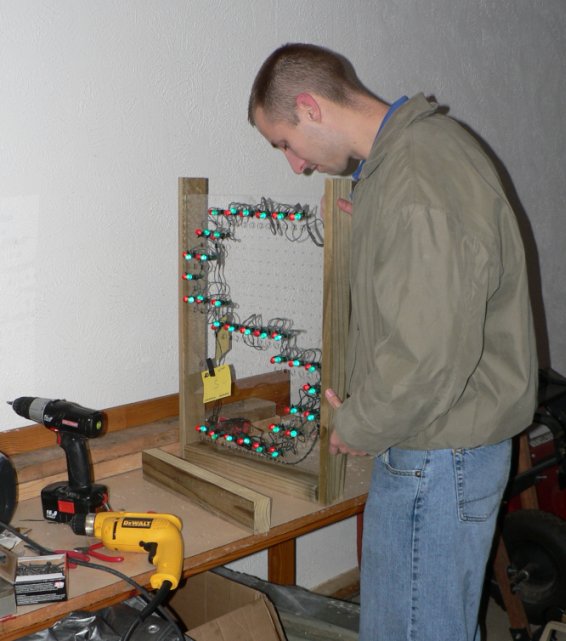
Securing the frame around the letters for support.
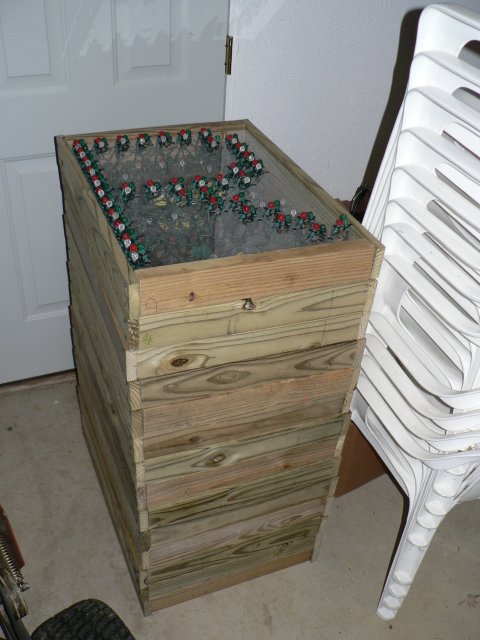
Stacking the framed letters for storage.
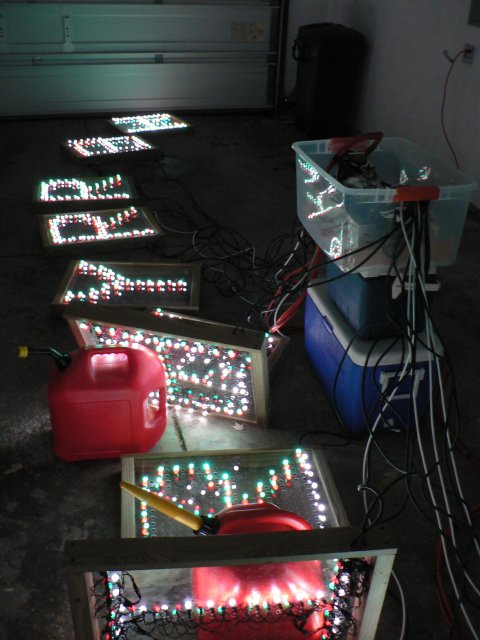
First test of the letters all connected to the controller.
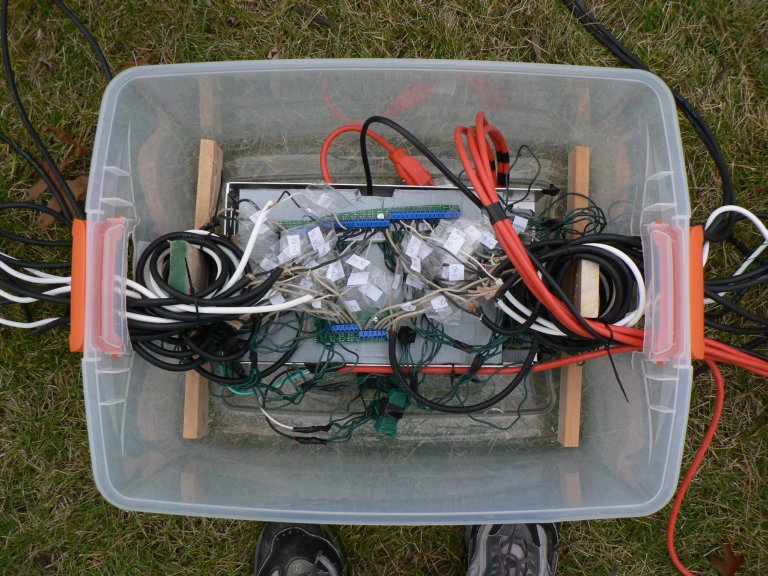
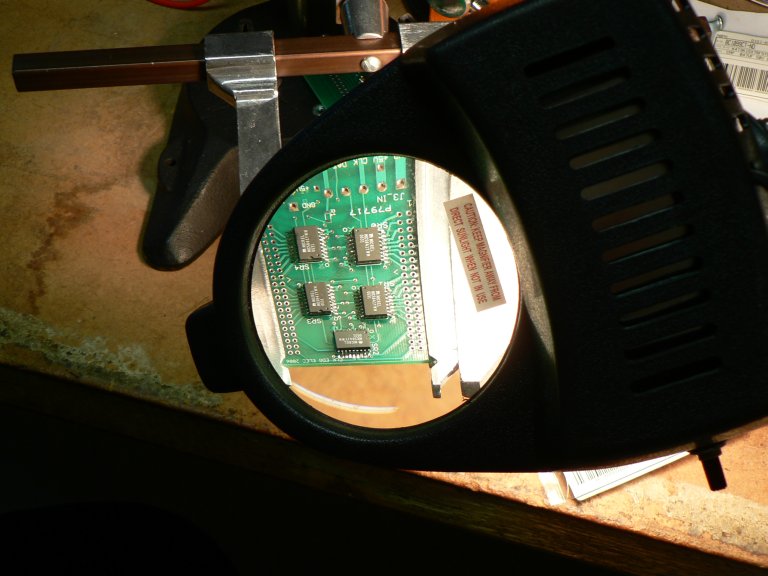
Custom hardware built to control the individual letters. Connections are made to screw terminals
visible from the top. Four specially designed relay boards underneath actually turn on and off
individual letters.
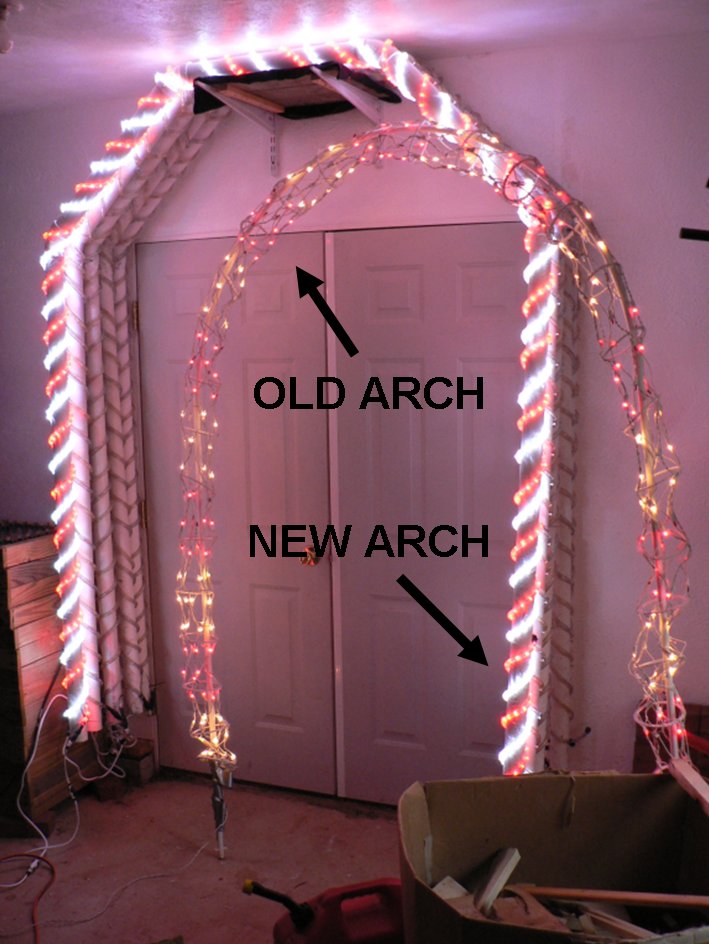
The original arches were used for 4 years from 2006-2009 before they rusted away too badly. They
were replaced with home made arches that used PVC and rope lights. Unlike the originals, the red
and white can be separately controlled.